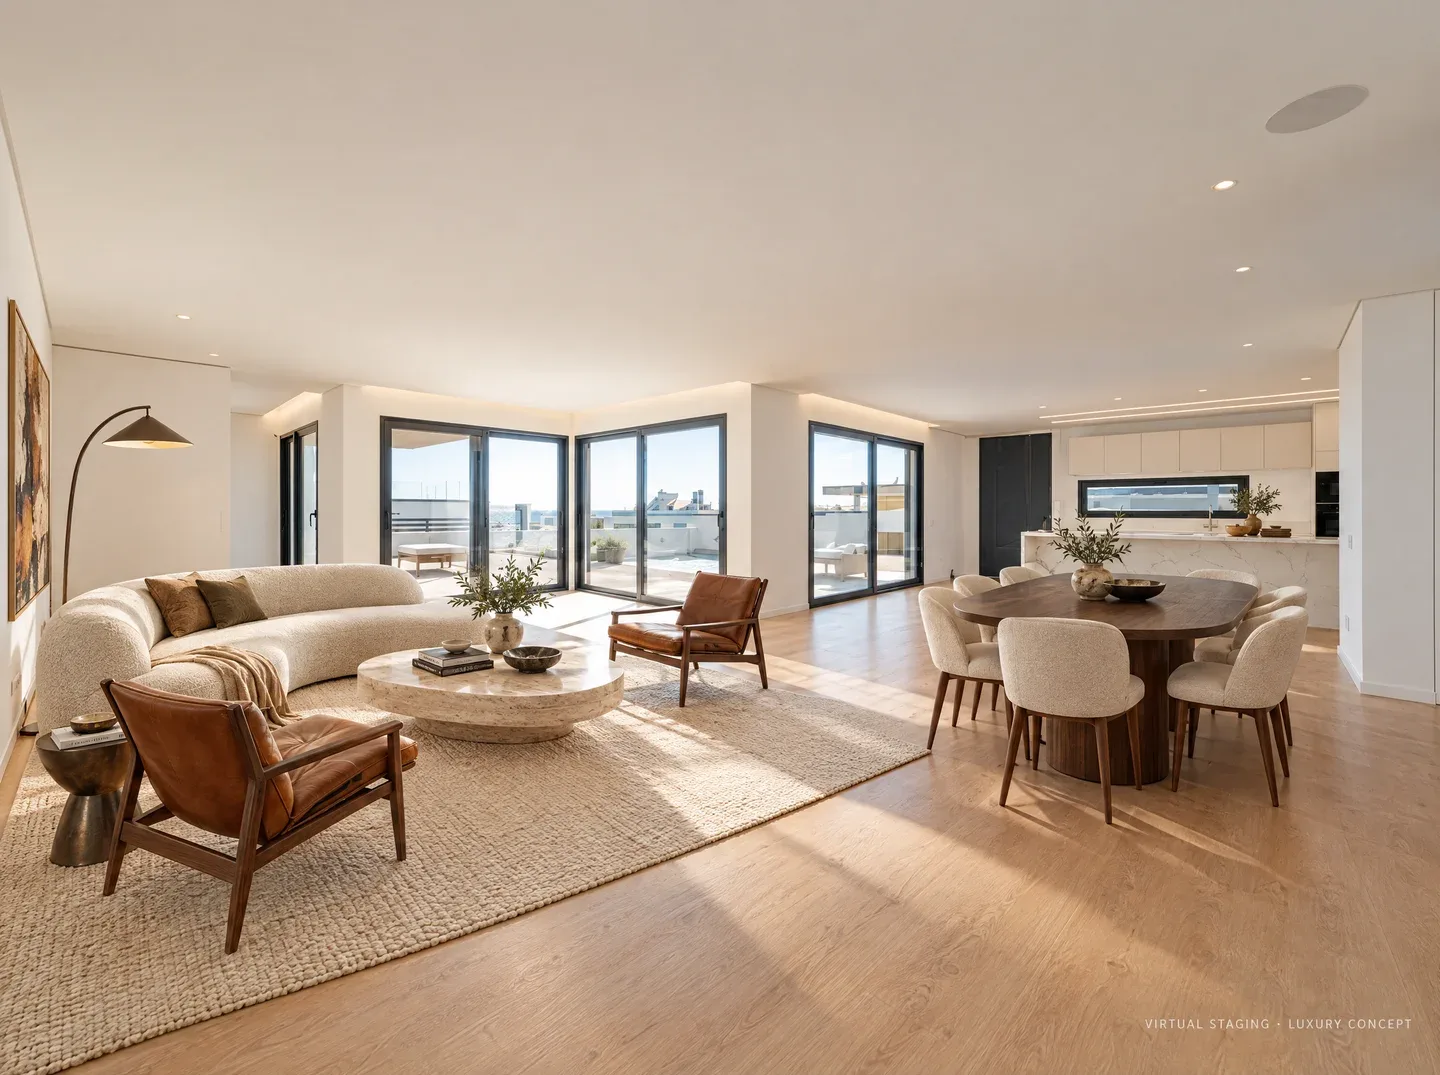
Turn property photos into a design brief
Compare interior ideas using real room photos. Keep the originals, concepts and decision notes together, then develop your chosen direction with your project team.
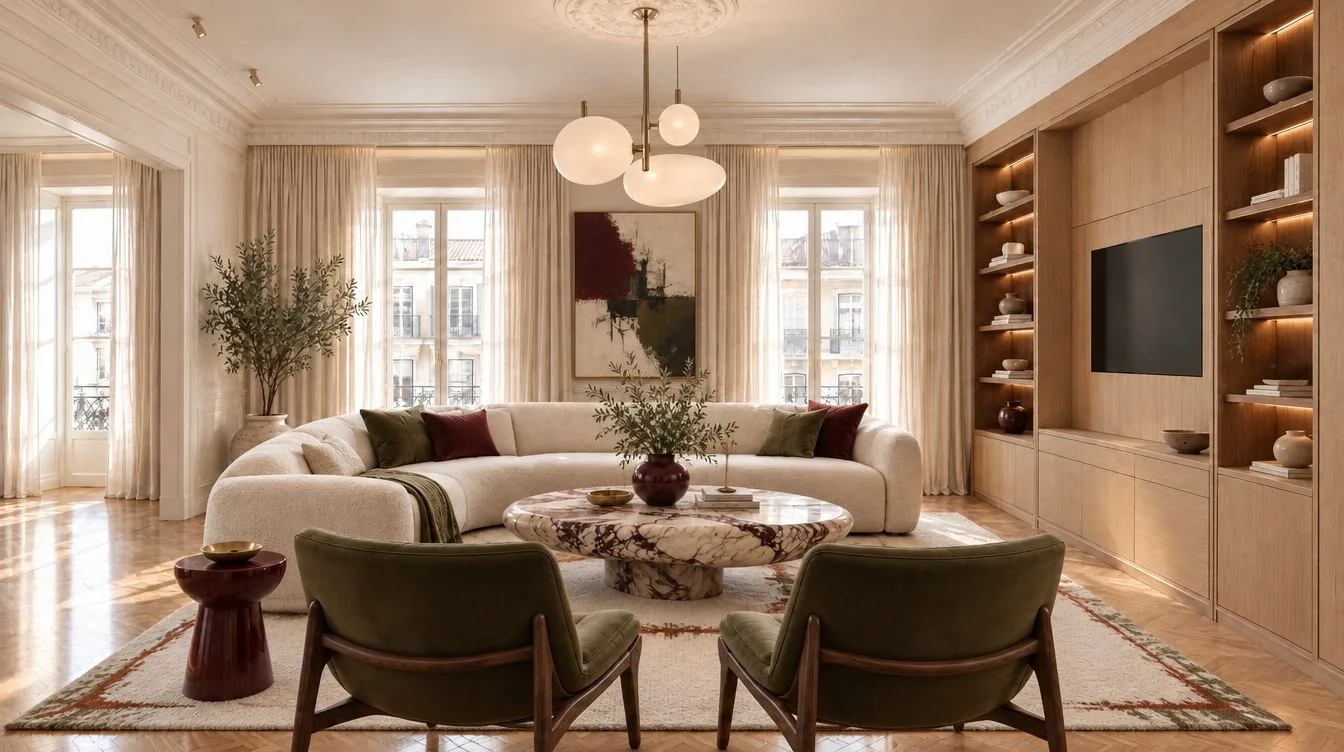
Decide what you want to show
A development presentation may need to compare a furnishing direction, explain a refurbishment opportunity or align a sales team on how to describe a completed room. Define that decision before producing images. A picture is most useful when viewers know which question it answers.
Room & Story starts from a room photograph. It does not turn an unbuilt scheme or a floor plan into verified architectural CGI. For an existing unit or show apartment, it can help you compare visual directions using the actual space as a reference.
Write a clear brief
Record the property or unit, room function, fixed elements, intended audience and scope of proposed changes. Keep those fields consistent across the project. For example, a refurbishment brief can explore finishes; a completed-unit staging brief should focus on movable furniture.
Choose a shared palette and style direction when comparing rooms in one property. Request the same materials deliberately rather than assuming separate generations will match. Review continuity across the exported images.
- Property or unit identifier and room name.
- Original photo and permission to use it.
- Features and finishes to retain.
- Furniture, colours or materials to explore.
- Intended use: internal discussion, client presentation or reviewed marketing.
Present options with a reason for each
Compare two purposeful directions, such as warm minimalist and modern classic, while holding the source photo and requirements steady. Explain the difference in furniture forms, palette and materials. Ask which elements should carry forward, rather than treating an entire rendering as an approved specification.
Save alternatives in a property project and revisit them through Design history. Use your existing project-management process to record reviewers, comments and approval status. Room & Story’s saved projects do not constitute a construction approval or a shared team approval system.
Prepare the presentation
Export the selected concept or a before-and-after layout. Add the agency or company name, logo and an appropriate disclosure where useful. Keep the current-condition image available so stakeholders can distinguish the existing room from the proposal.
If the image will support selling or leasing, check it against the actual property and approved marketing claims. Do not let a generated window, view, finish or amenity become an implied promise. A proposal for future work should be labelled as a proposed design.
Take the selected direction into detailed work
Write a short decision note listing the preferred elements and any generated details to ignore. Hand over that note, the source photo and the concept to the designer, architect or contractor responsible for detailed work.
Room & Story provides visual concepts rather than BIM files, construction drawings, measured layouts, cost plans or feasibility assessments. Its role is to make an early conversation more concrete; professional specification and delivery remain separate.
See how it works ↗See examples ↗See pricing ↗
Based on our Studio workflow and concept examples, not completed customer projects. Send a question or correction.