Your virtual staging checklist
Virtual staging adds furniture to a property photo. Start with an accurate original, change movable items only and check every room before publishing.
Choose the room that needs explaining
Start where an empty photo leaves a question unanswered. Can the living room also hold a dining area? Where might a tenant put a desk? A focused staging image can help someone understand a possible use of the space. It does not establish dimensions or prove that the furniture will fit.
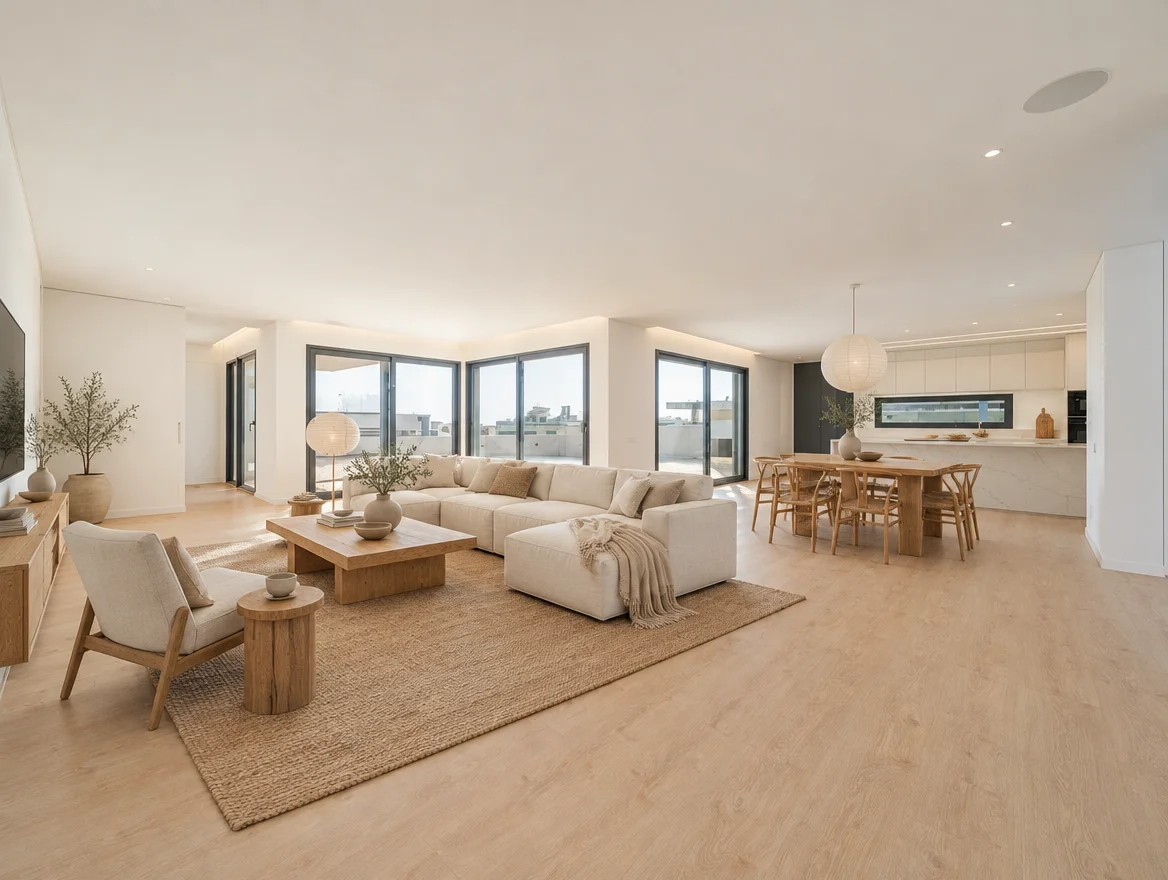
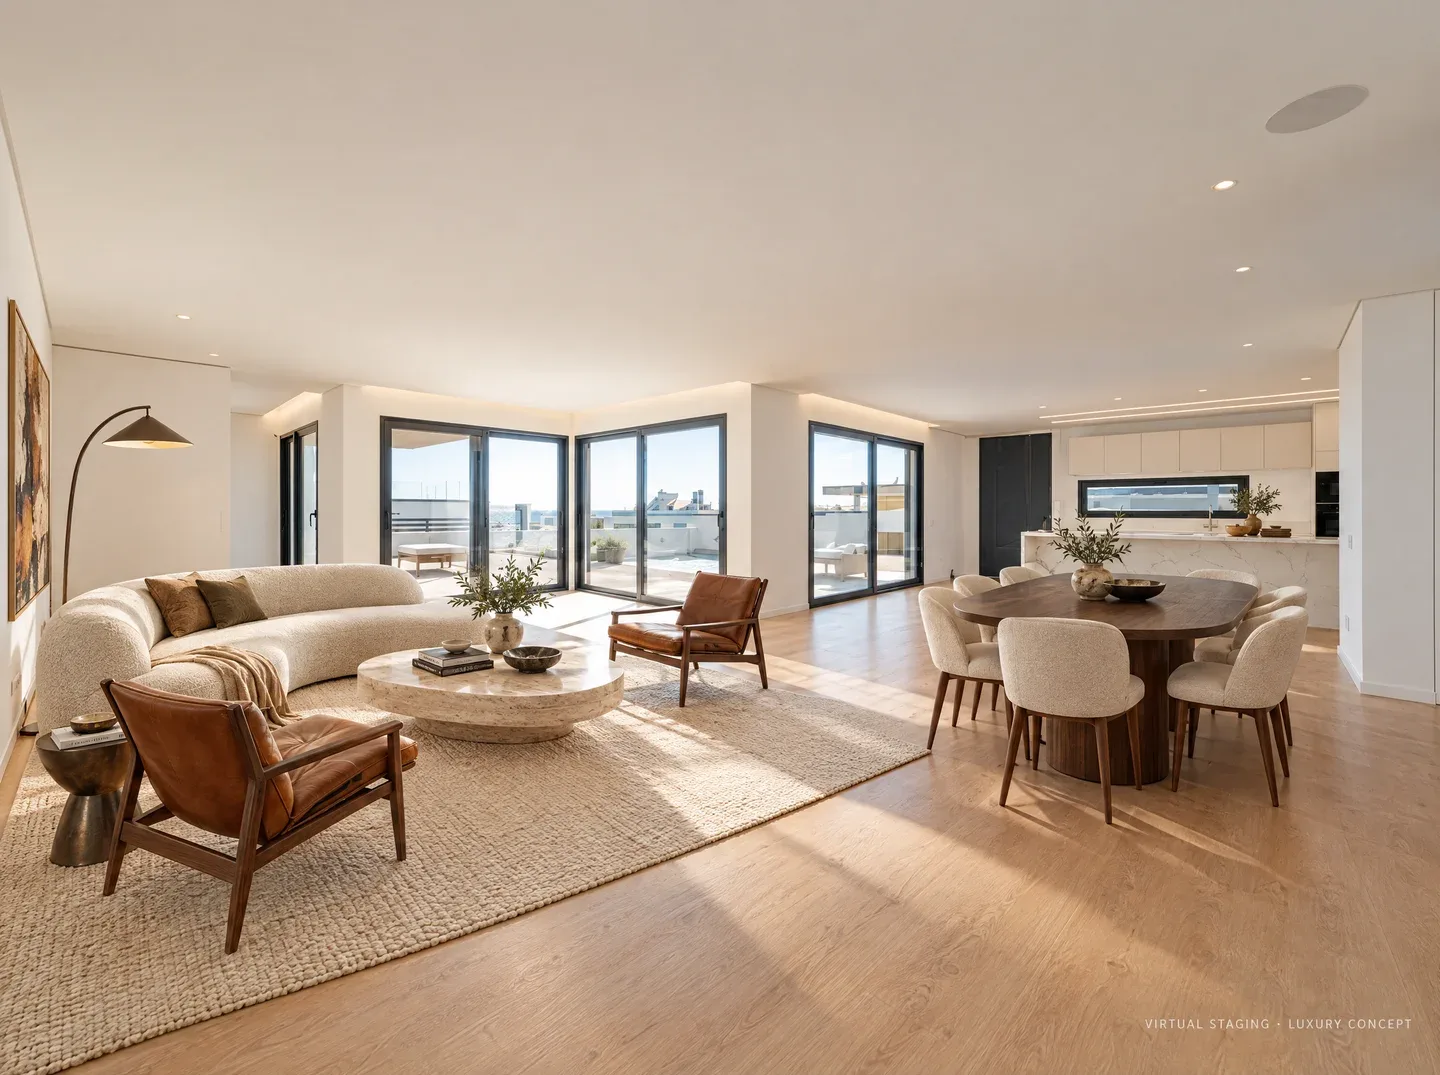
Our Ericeira concept example starts with an actual empty living and dining room. The useful design question is how to suggest both functions while leaving the route to the terrace legible. The example is a concept study, not a completed furnishing project or evidence of a faster sale.
Prepare the original property photo
Use a clear, level photograph with enough floor and wall visible to understand the room. Keep the camera position consistent when comparing results. Save the untouched original separately so it remains available for your listing and for quality checks.
- Use a current photo of the actual property, with permission to edit and publish it.
- Show doors, windows, radiators and fixed finishes clearly.
- Remove personal documents and identifying photographs before uploading.
- Avoid heavily stretched panoramas, screenshots and filters that obscure the room.
Write a staging brief with a keep list
In Room & Story, choose the virtual staging use case and describe the room’s function, furniture style and permanent features to retain. Request a sofa and dining table rather than a new floor or larger window. Changing fixed finishes belongs in a separately labelled renovation concept.
A keep list guides generation but cannot guarantee preservation. If the result changes a doorway, view, floor or built-in feature, revise or reject it before publication.
Review before exporting
Compare the original and concept side by side. Follow the perimeter of the room first, then inspect furniture scale, circulation and lighting. A chair should not appear to block the only doorway, and a rug should not hide a condition that viewers need to understand.
- Check the number, shape and position of windows and doors.
- Check floors, wall finishes, ceiling lines and permanent fixtures.
- Keep the original available and state which furnishings are only proposed.
- Use a visible virtual-staging disclosure and check the current rules of your listing service.
Make the handoff clear
The export tools can create individual concepts or before-and-after layouts, with image dimensions, an agency name or logo, and a disclosure. Keep the original, selected concept and brief together so a colleague can understand what changed.
For an unfurnished rental, say explicitly that the displayed furniture is not included. Virtual staging helps explain a possibility; it does not guarantee enquiries, occupancy, sale speed or a higher price.
See how it works ↗See examples ↗See pricing ↗
Based on our Studio workflow and concept examples, not completed customer projects. Send a question or correction.